
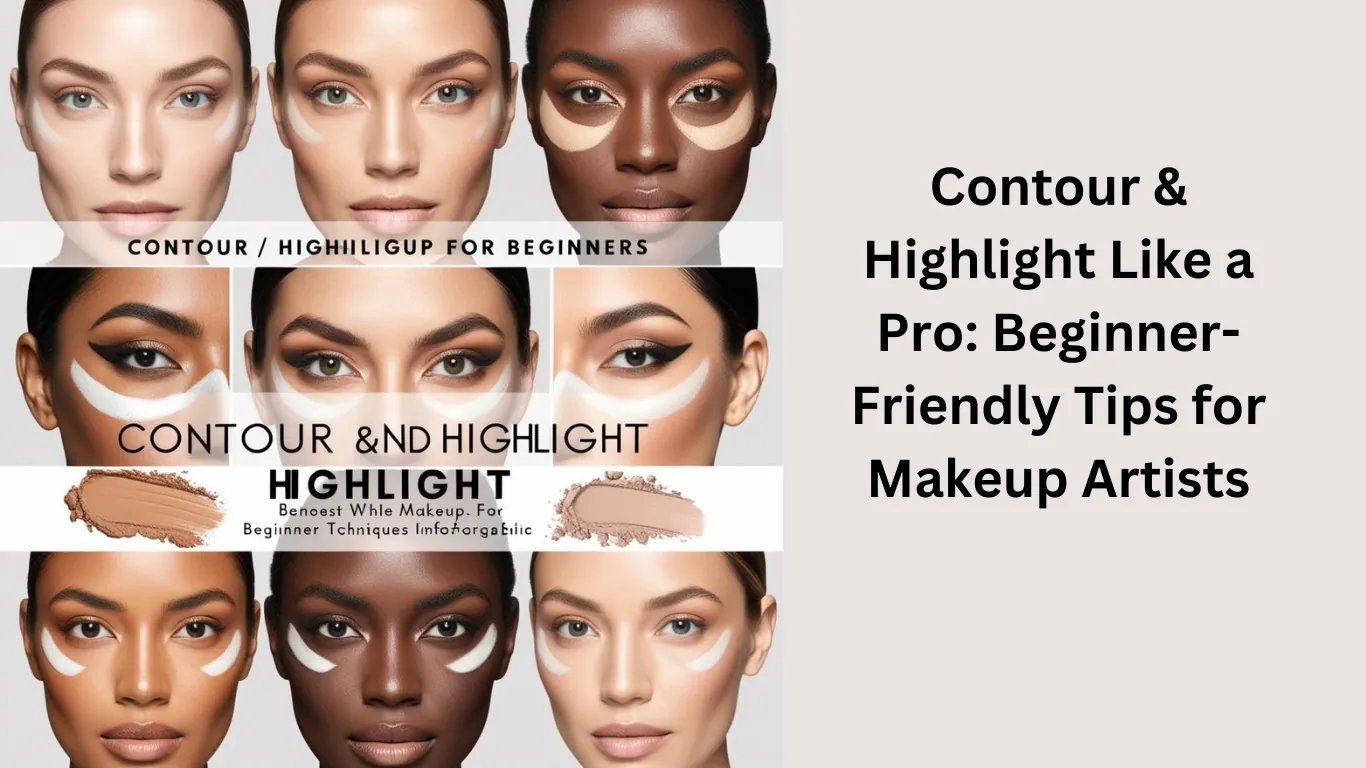
Contour & Highlight Like a Pro: Beginner-Friendly Tips for Makeup Artists
For one entering the wonderful world of makeup artistry, contouring and highlighting pretty much covers everything. It’s defining features, enhancing your personal beauty, and bringing visions to life. And be it through Fundamentals of Makeup & Hair Trends Certification or just an upgrade of a few skills, this article will help walk the way to essentials in simple and straightforward terms.
What Is Contouring and Highlighting?
Think of contouring and highlighting as the yin and yang of makeup. The former uses darker shades to create shadow and add dimension, while the latter employs lighter shades to bring areas forward and catch light. Together, they sculpt and define the face, giving it a polished, professional finish.
Why Are These Techniques Important?
As a makeup artist, contouring and highlighting enable you
Define cheekbones, narrow a nose, or define the contours of a jawline to accentuate a natural look.
Make the face symmetrical: Balance facial bone structure.
Increase dimensionality on your face: Take an average application to another level.
Things You Will Be Using
To begin, ensure your makeup arsenal has:
Contour products-creams, powders, or sticks-which come in cool or neutral undertones.
Highlight products in the form of creams, powders, or liquids, all with a satin or luminous finish.
Blending tools: Beauty sponges, angled brushes, and fluffy blending brushes.
Setting powder: To lock in your work.
Beginner-Friendly Tips to Contour and Highlight Like a Pro
1.Know Your Face Shape
The first step is to know your client’s or your face shape. There are generally oval, round, square, heart, and diamond shapes. Every shape has special areas that have to be highlighted or hidden.
Oval: Define the center of the forehead, below the eyes, and the chin. Contour the sides of the forehead and below the cheekbones.
Round: Contour the sides of the face to elongate.
Square: Round out angles by contouring the jawline and temples.
Heart: Counterbalance the wider forehead by contouring and bringing attention down with the chin’s highlight.
Diamond: Highlight the center of the forehead and chin while contouring the cheekbones.
2.Select the Appropriate Products
For beginners, cream products are much easier to blend and can be more forgiving. Powders are fine for oily skin types or over a cream base. Use 1-2 shades deeper than your natural color for contouring and 1-2 shades lighter for highlighting.
3.Plan It Out
Apply small amounts of product in strategic areas:
Contour: Hairline, under the cheekbones, sides of the nose, jawline.
Highlight: Forehead center, tops of the cheekbones, bridge of the nose, Cupid’s bow, and chin.
4.Blend, Blend, Blend
This is where magic happens. Blend with a wet beauty sponge to create a flawless finish or blend with a soft brush for powdery finishes. Blend with gentle, sweeping motions to create no harsh lines.
5.Set Your Work
Lock it all in with translucent setting powder or a setting spray. It makes sure your masterpiece stays that way all day long.
Common Mistakes to Avoid
Applying too much product: Start with small amounts; you can always add more.
Sidelining undertones: Use shades that complement the skin’s undertone.
Not blending enough: Harsh lines can really ruin the illusion of natural shadows and highlights.
Using the wrong tools: Invest in quality brushes and sponges for better results.
Practice Makes Perfect
Like any skill, mastering contouring and highlighting takes practice. Experiment on different face shapes and skin tones to build your confidence. If you’re enrolled in a Fundamentals of Makeup & Hair Trends Certification, use practice sessions to refine your technique under expert guidance.
Wrapping Up
Contour and highlight: This is an important technique, not only for a pro but also for any makeup beginner. With some perfect tools, products, and practice, you will always end up with a professional touch. So, grab your brushes and get ready to sculpt your journey to becoming a pro!